Since lots of people are interested in how everything was done in our trailer, we decided to put together a page to provide more detail.
To give some background info, we were awarded an ARDC grant for $30,812 to purchase an 8’x16′ cargo trailer & everything needed to outfit it. You can learn more about the specifics by clicking here.
When we originally wrote the grant, we were looking to get a 7×14 cargo trailer, however, this wasn’t the case for long. After talking to Joe, N9TAX about the trailer he used to use for communications, we decided that the extra foot of width and extra few feet of length was the way to go. Even though its not much extra space, it feels significantly bigger.
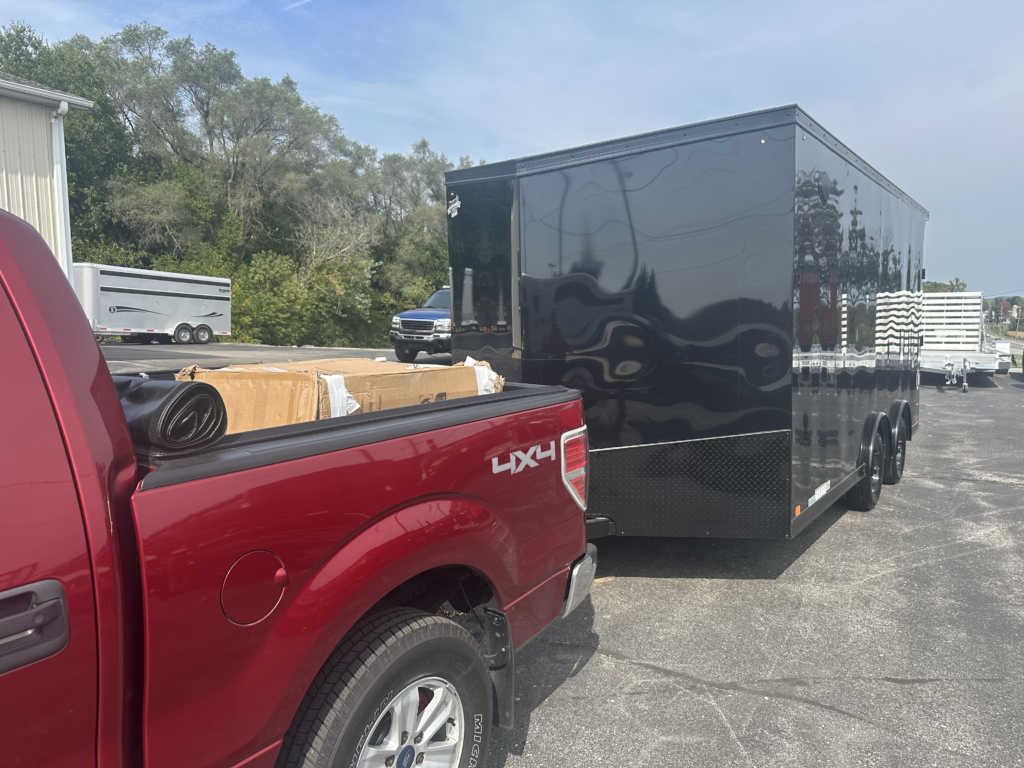
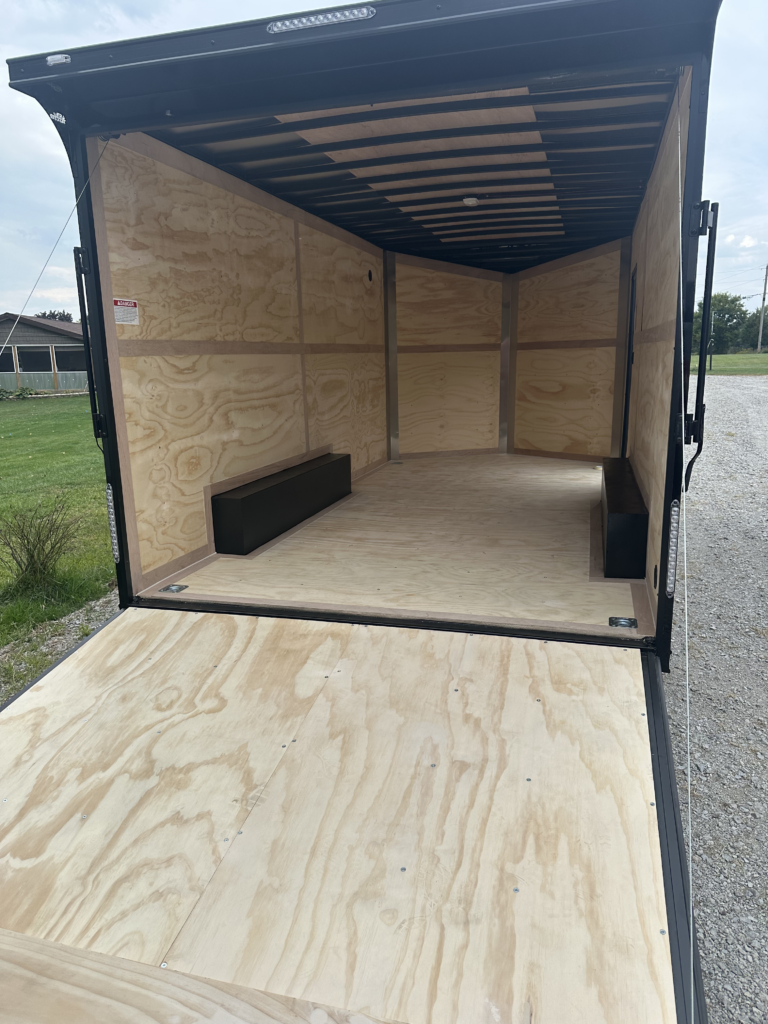
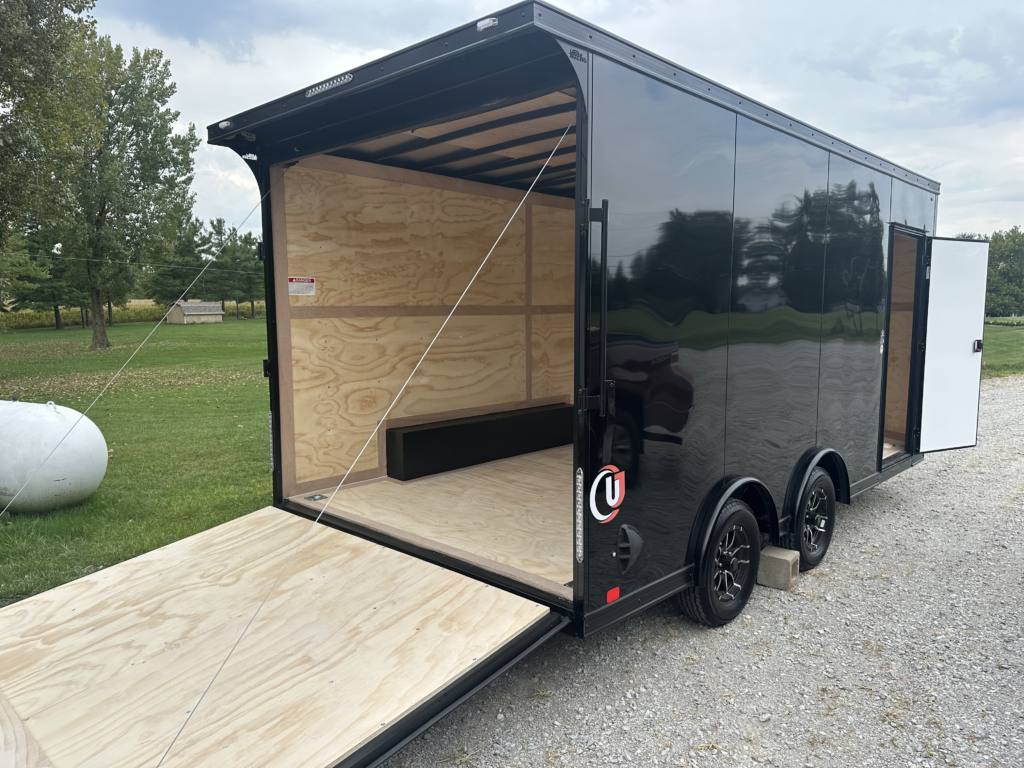
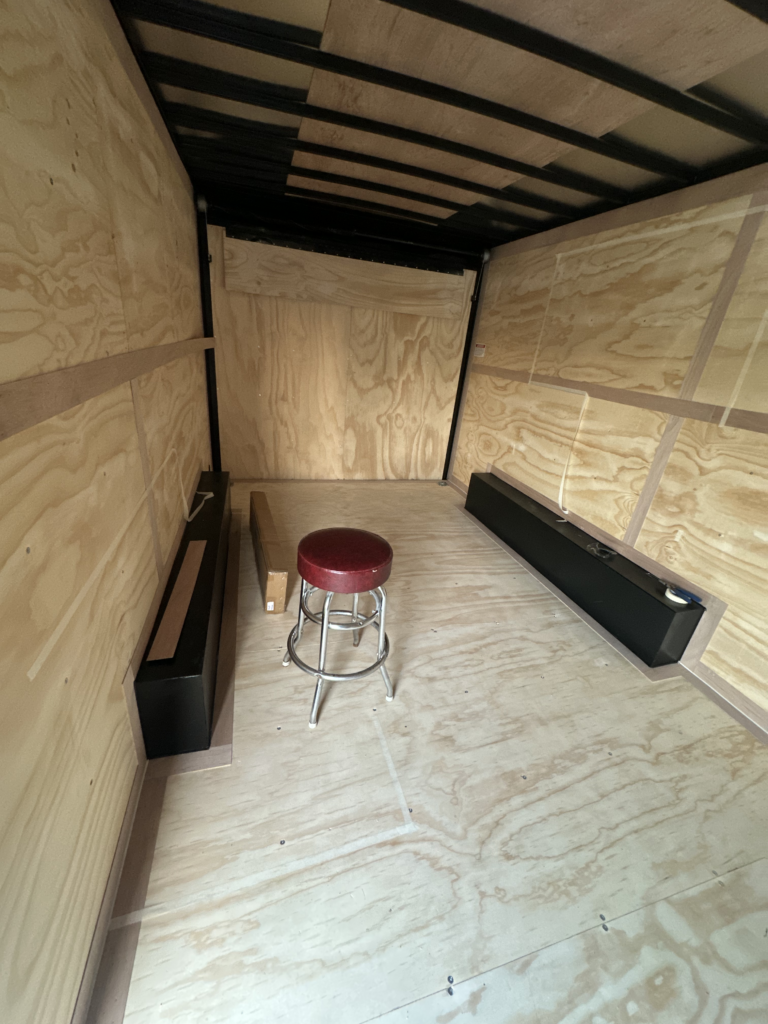
After working with Weavers Trailer Sales, we settled on an 8.5×16 UJ Cargo Trailer from United Trailers with 16″ on center studs, making it easier to mount things.
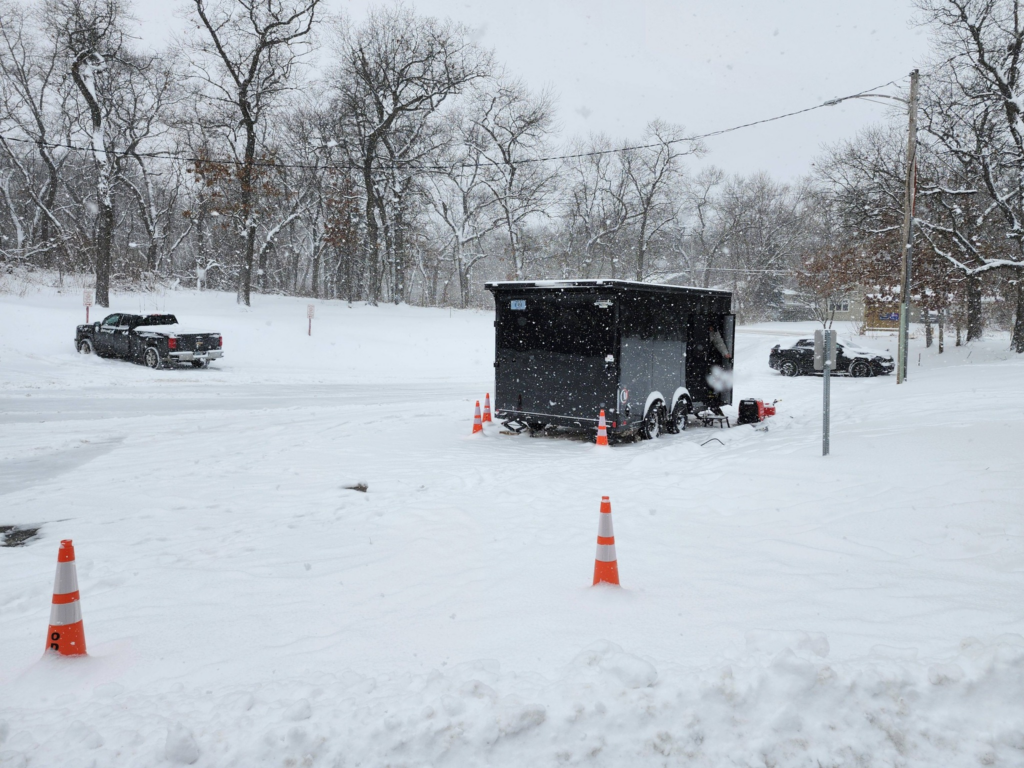
Below are some photos from when we took possession of the trailer:
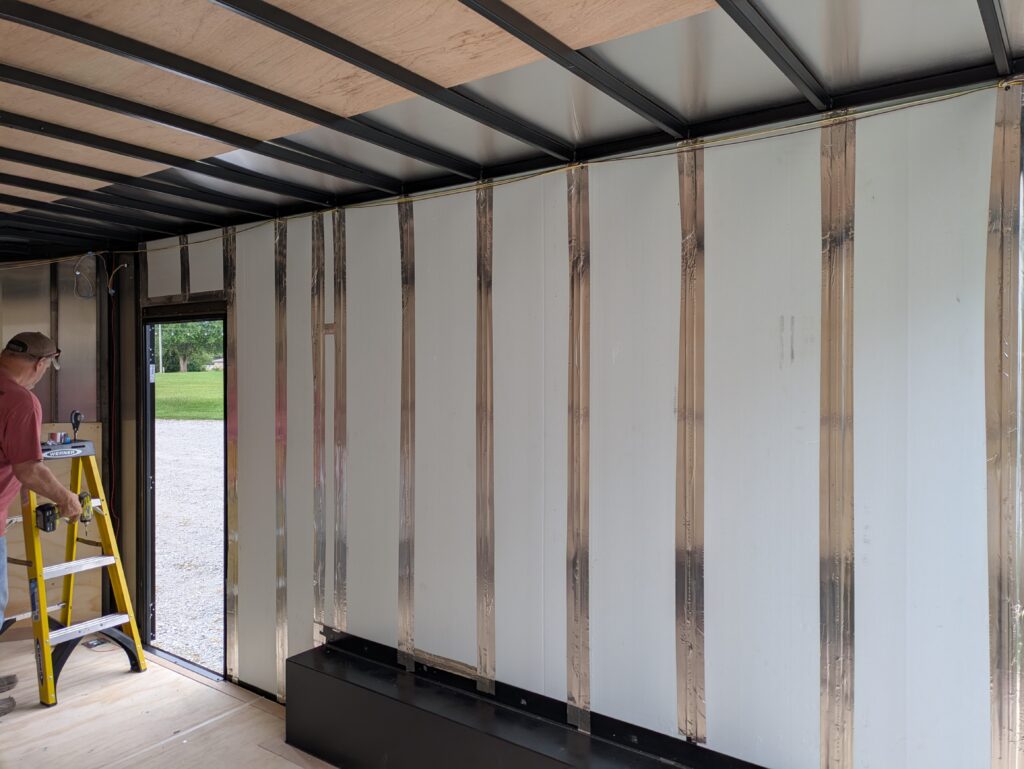
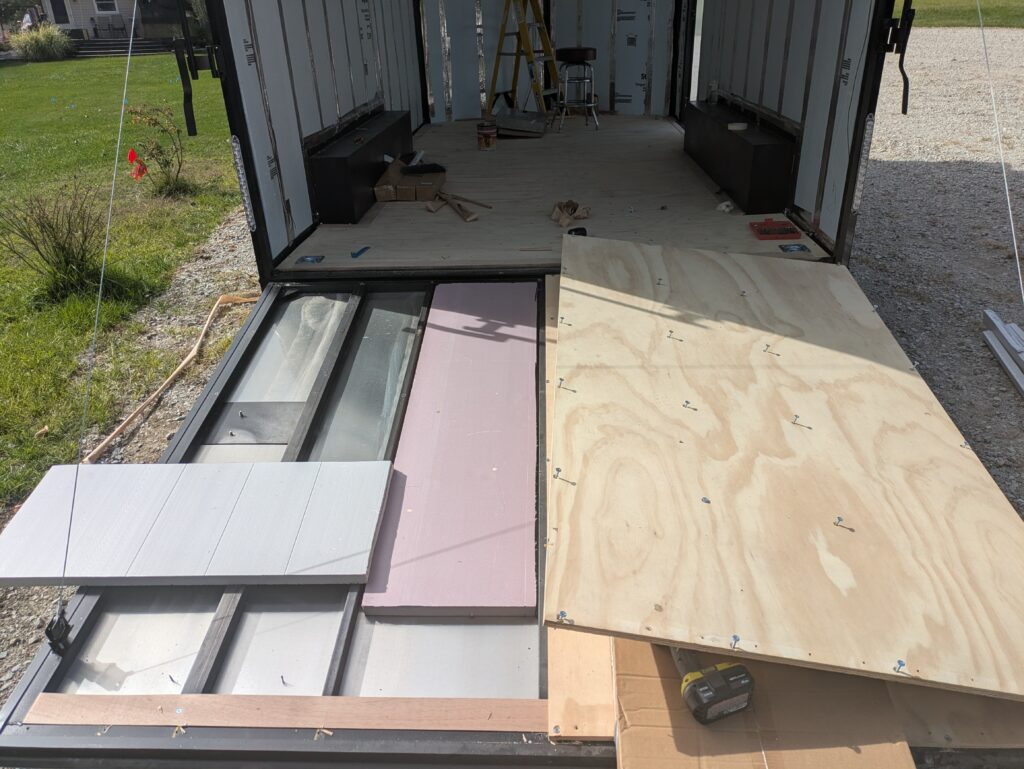
Before we started installing anything, we needed to insulate the trailer. Even though we have an over sized mini split (more on that later), it wont be able to keep up when it gets really hot or really cold. After reaching out to our wonderful friends at Von Tobel, we ended up with R5 insulation for the walls, and R7.5 insulation for the ceiling. We used R5 for the walls due to the limited amount of clearance.
On a side note, the Ryobi cutoff tool does a great job of cutting insulation.
Once we had insulated the inside, we decided to insulate the door. Since we came up about half a sheet short, Matt W9MDM provided us with a few pieces to fill the remainder.
After everything was insulated, we started covering it back up. There really isn’t anything interesting to see here, so we didn’t take many pictures.
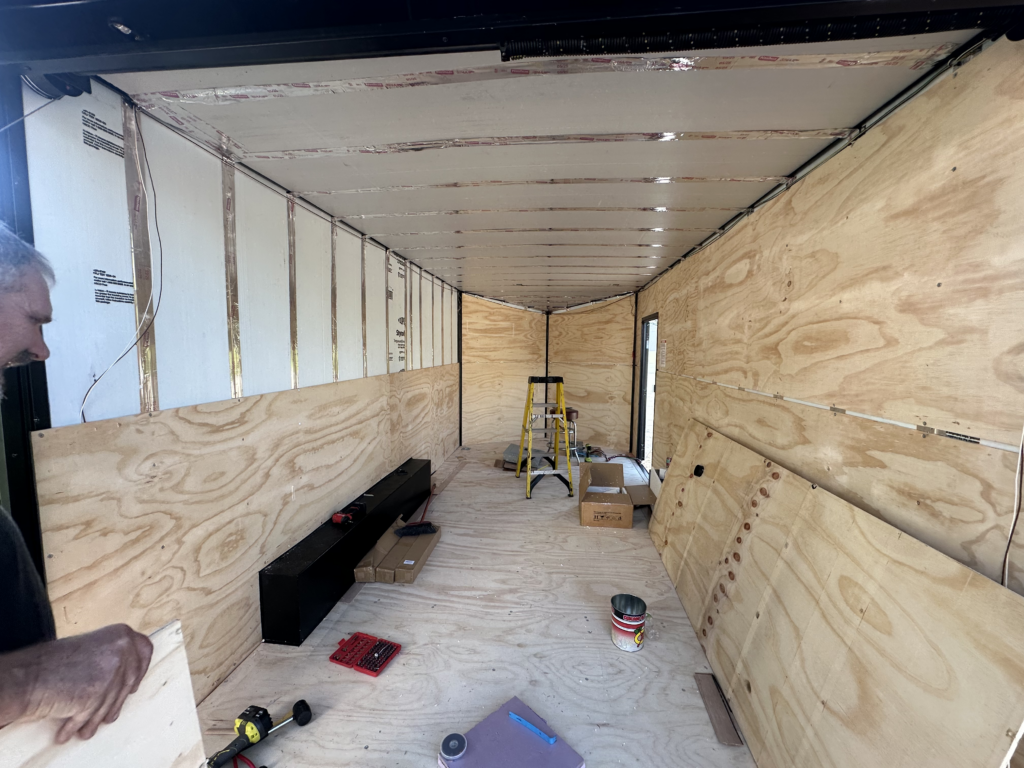
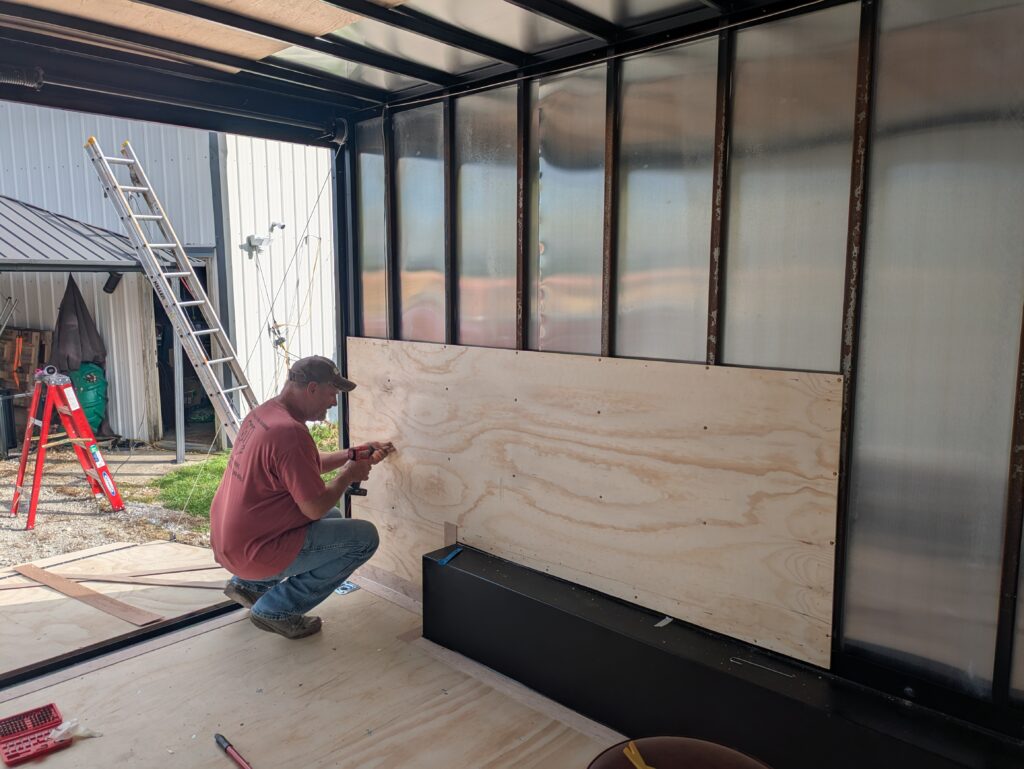
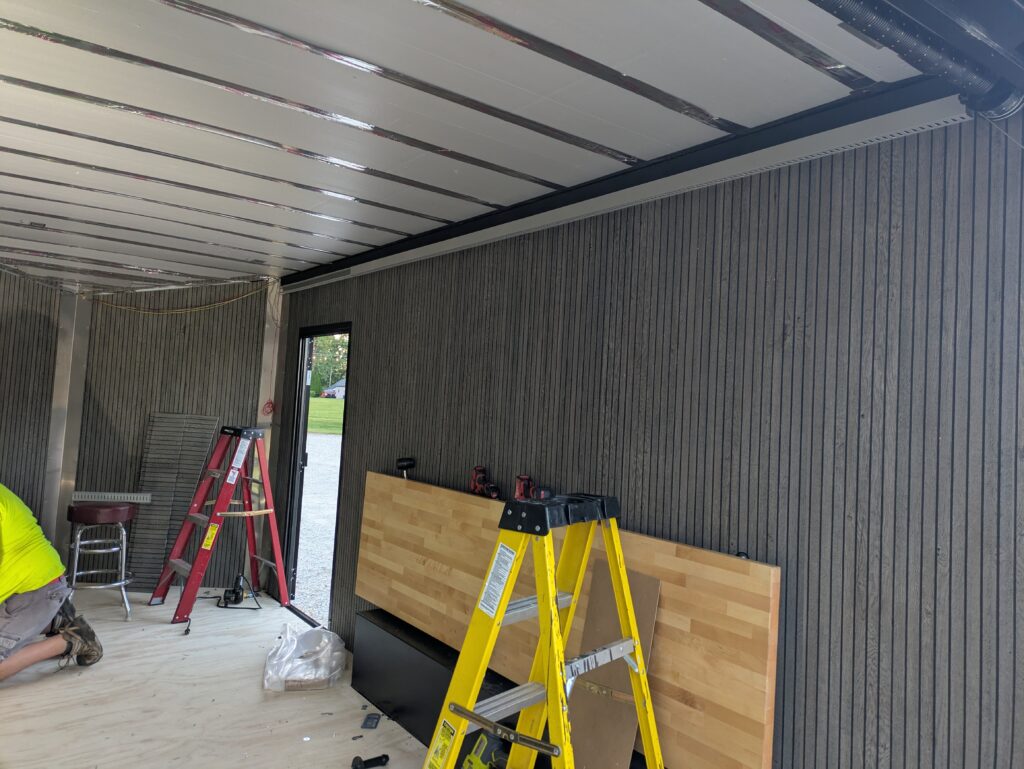
After all the wall panels were up, we started exploring wall coverings. At first, we had considered white FRP sheeting, but quickly decided against that. We ended up taking a trip to Menards and settling on a smoked fluted wall panel. We initially mounted the panels with staples, and then mounted as much as we could to the wall (i.e. monitors, desks) to further secure them.
The Ryobi cutoff tool mentioned above also does a great job of cutting this paneling! If you don’t have a cutoff tool, its worth picking one up from your favorite tool brand. It made this project a whole lot easier.
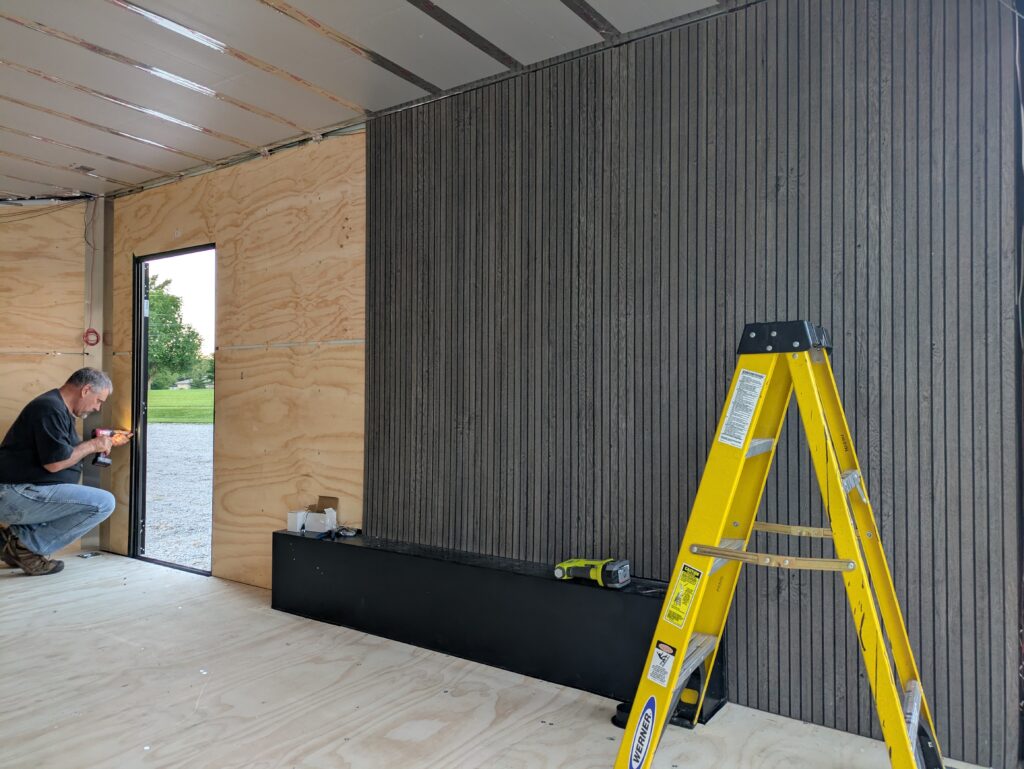
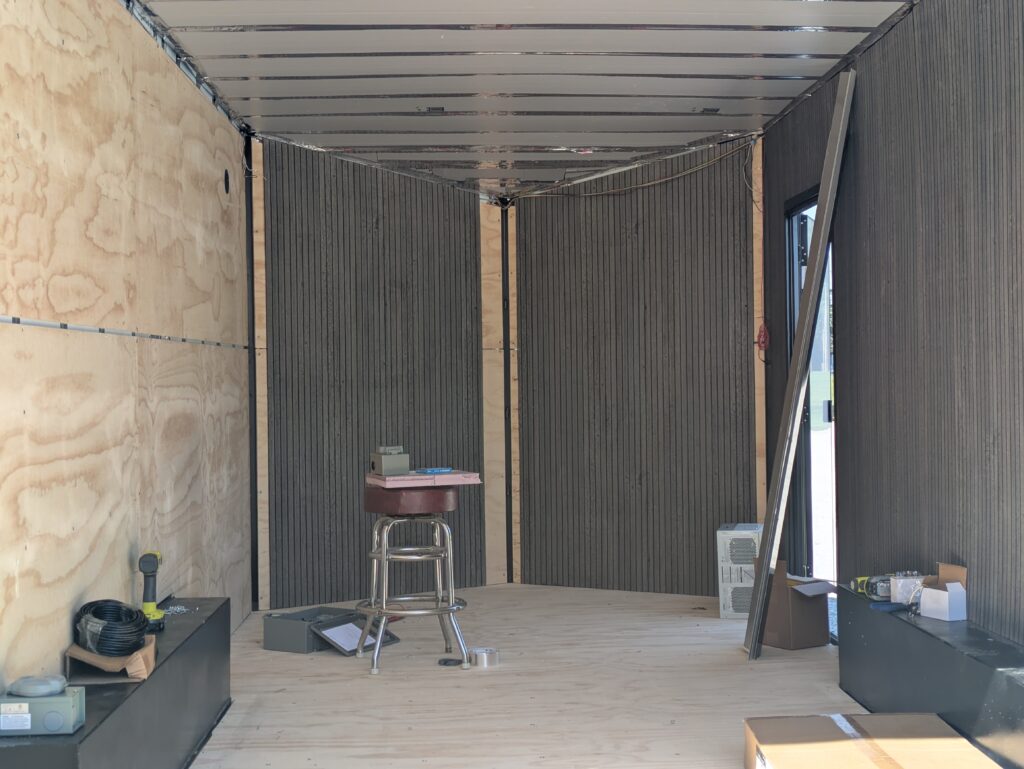
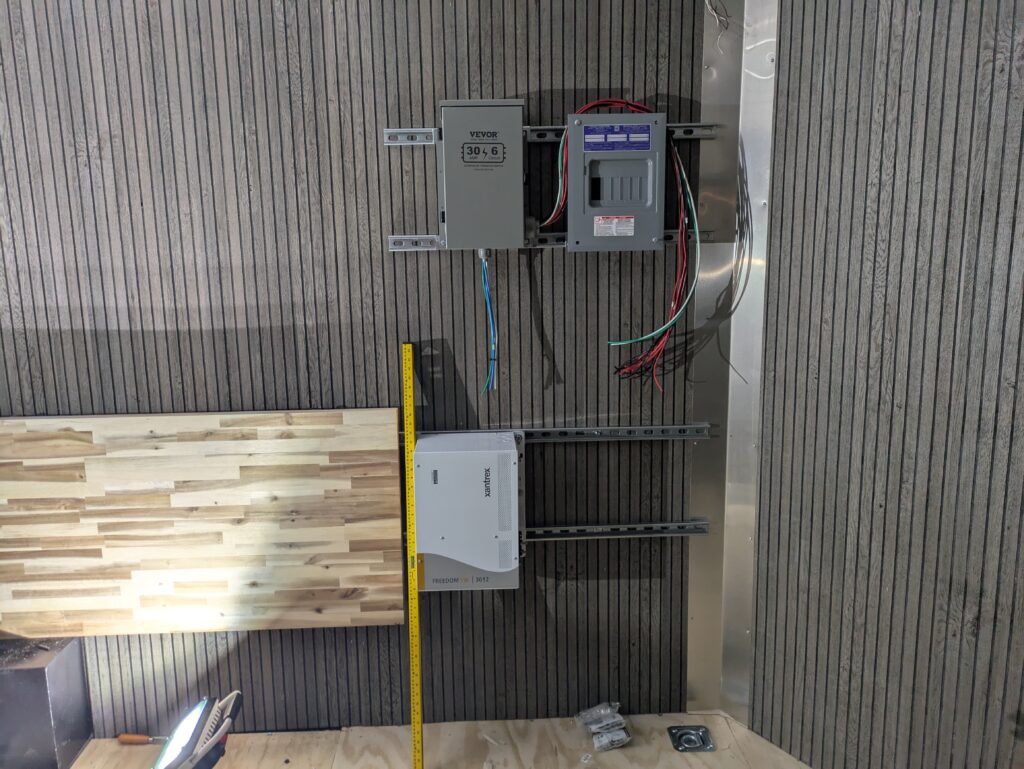
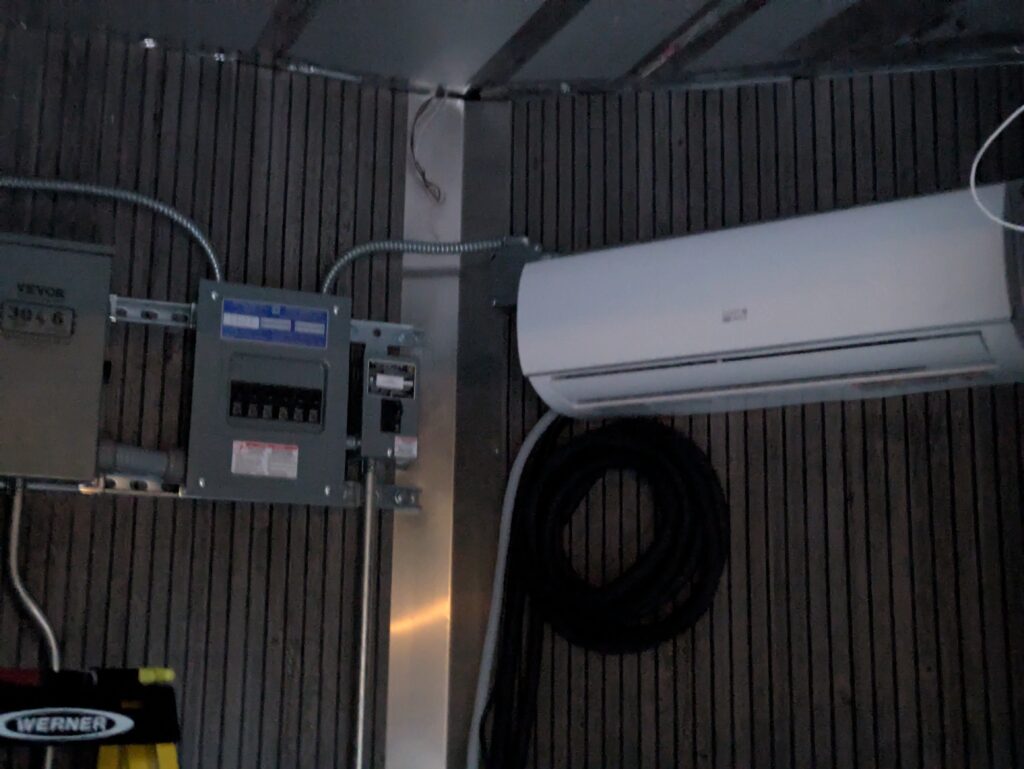
Once all of the panels were installed, we started to mount things on the wall. The desks were mounted first, followed by the inverter, breaker panel, and transfer switch.
We had also decided to put a piece of PVC board around the top edge, to help hide the gap between the roof of the trailer and the wall panels. 3″x3″ cable raceway duct, donated by StarTech was mounted under the PVC board, allowing us to have a place to run low voltage wiring.
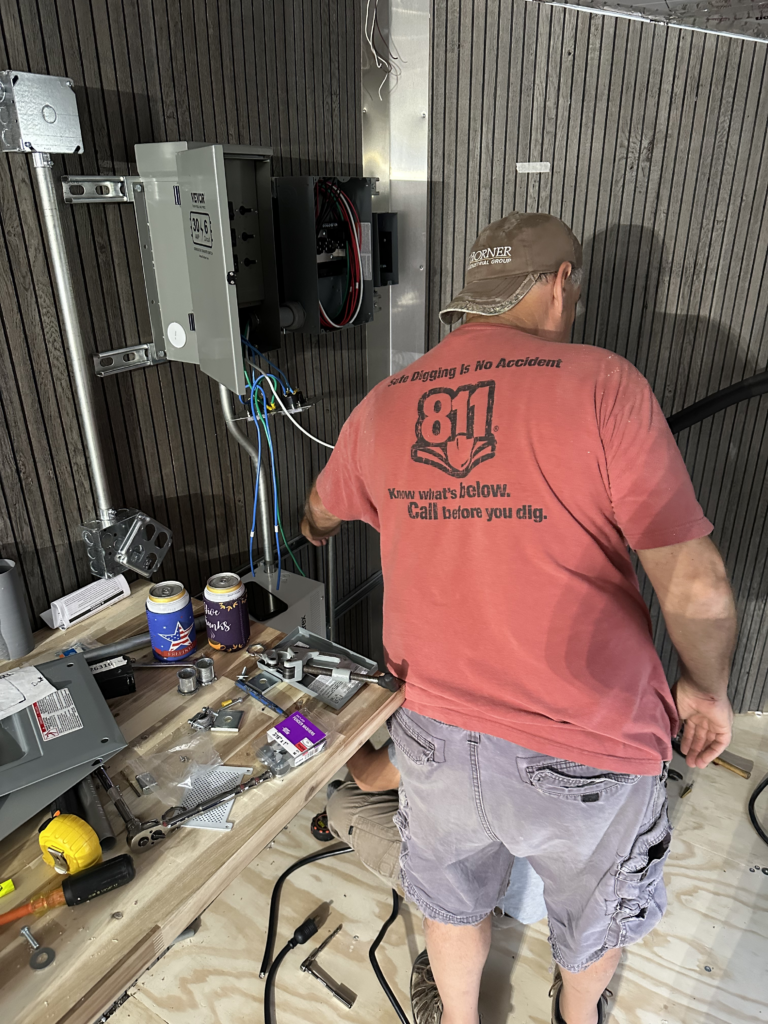
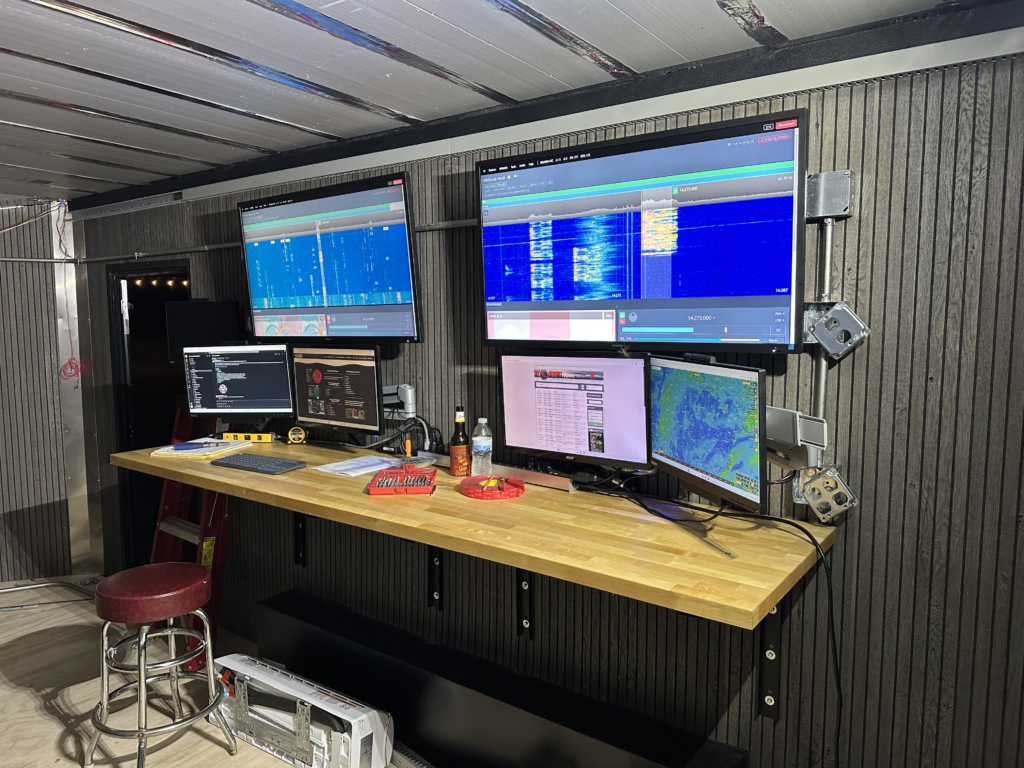
Once that was done, two of us worked on mounting TVs and monitors, while everyone else worked on planning and wiring the electrical systems.
As the electrical systems were still a work in progress, we decided to mount the rack. We ended up with a 15U wall mount rack, also donated by StarTech. In the rack, we have a Ubiquiti Dream Machine and a Ubiquiti 16 port PoE switch that were donated by Ubiquiti. We also have a Ubiquiti U6+ AP, a G3 dome camera, and a G5 PTZ for our pneumatic mast.
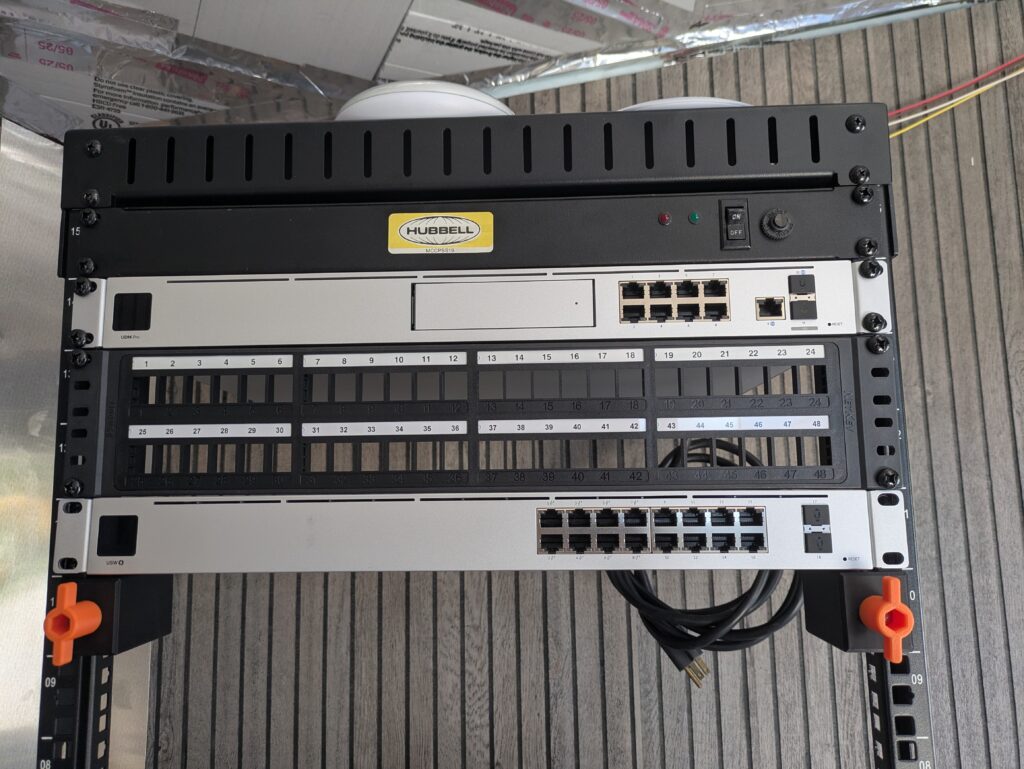
If you’re in IT (or just do things that involve racks) and own a 3D printer, you need to print yourself of these rack helpers. The number of times they come in handy is unreal.
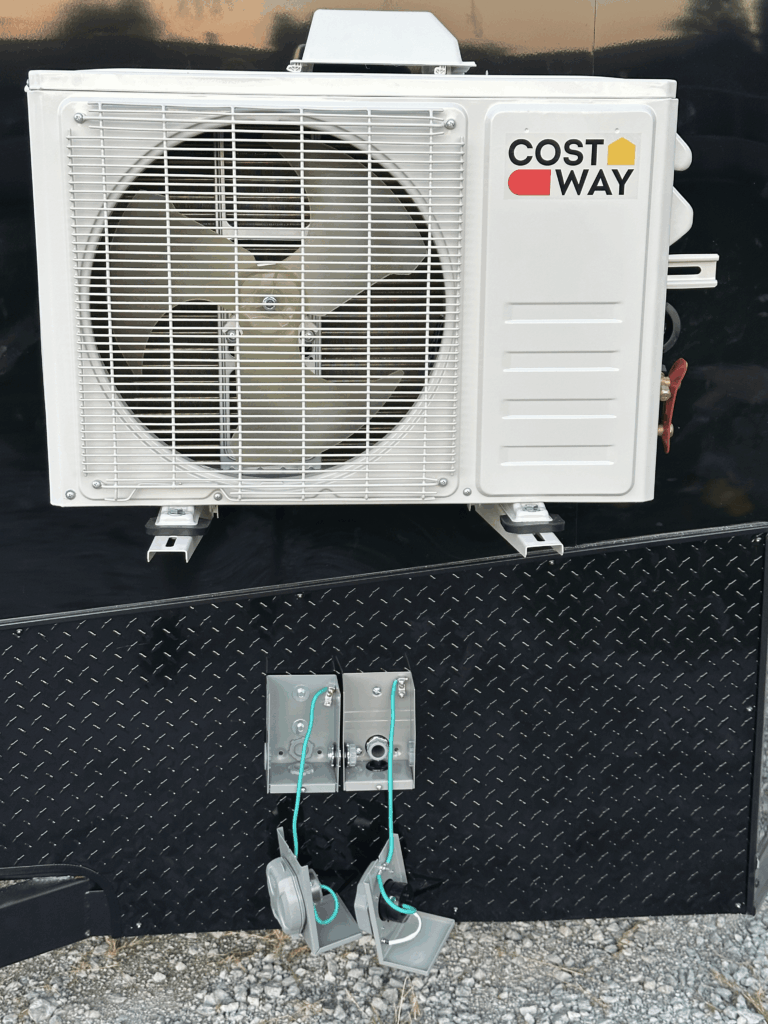
For our mini split, we decided on this Costway unit from Amazon. Its 11500 BTU and rated for a room bigger than the trailer, but for the price, it didn’t make sense to go with a smaller unit. The main reason we chose it was because it ran on 120v, rather than 240v. If you’ve ever looked at the Harbor Freight Predator line of generators, you may have noticed that the 5kw unit only puts out 120v, and not 240v.
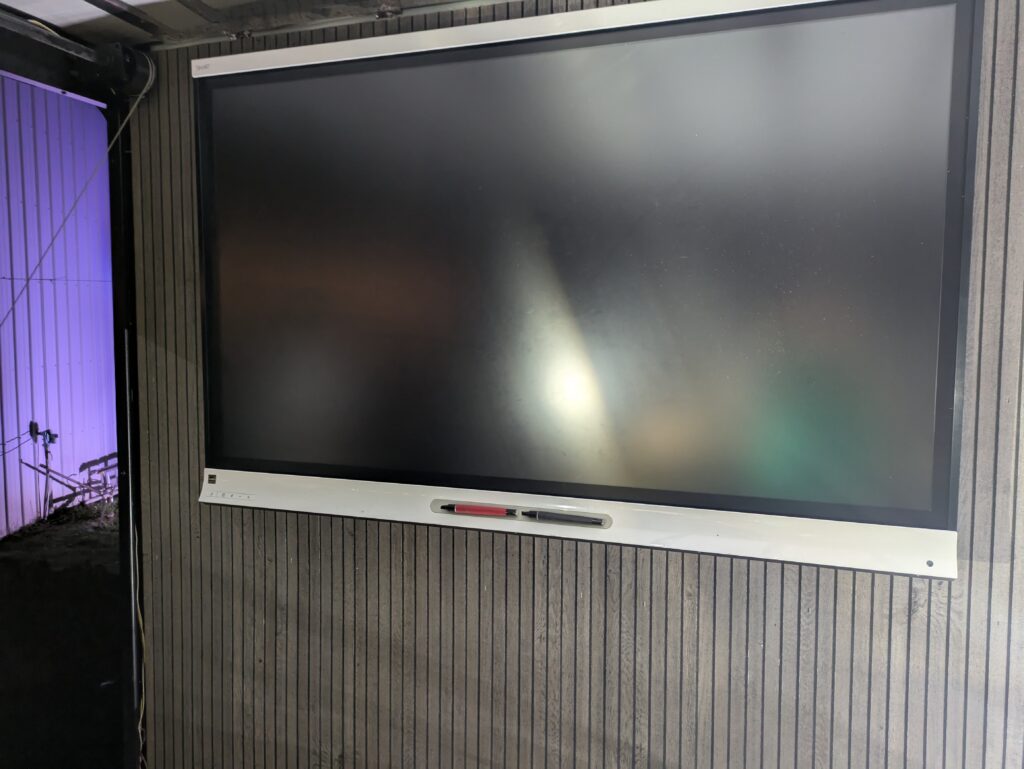
Once all of the electrical was in and the line set was charged, we mounted the smart board. Its nothing fancy, but at 65″, it gets the job done, and is the biggest display we could comfortably fit on the wall.
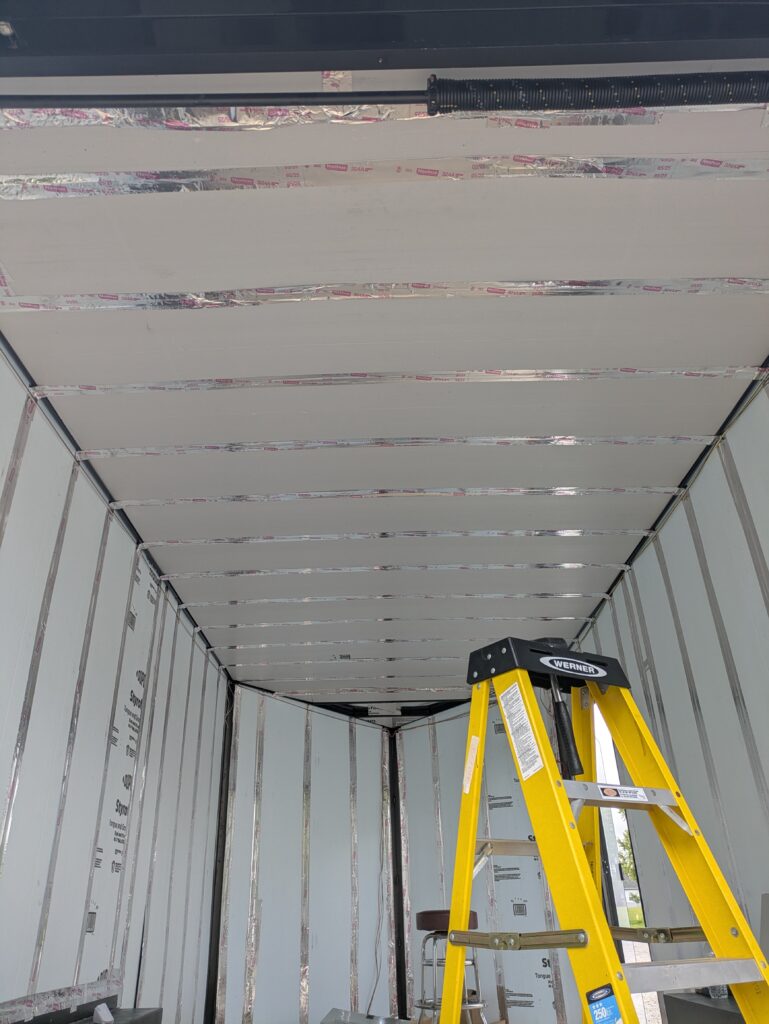
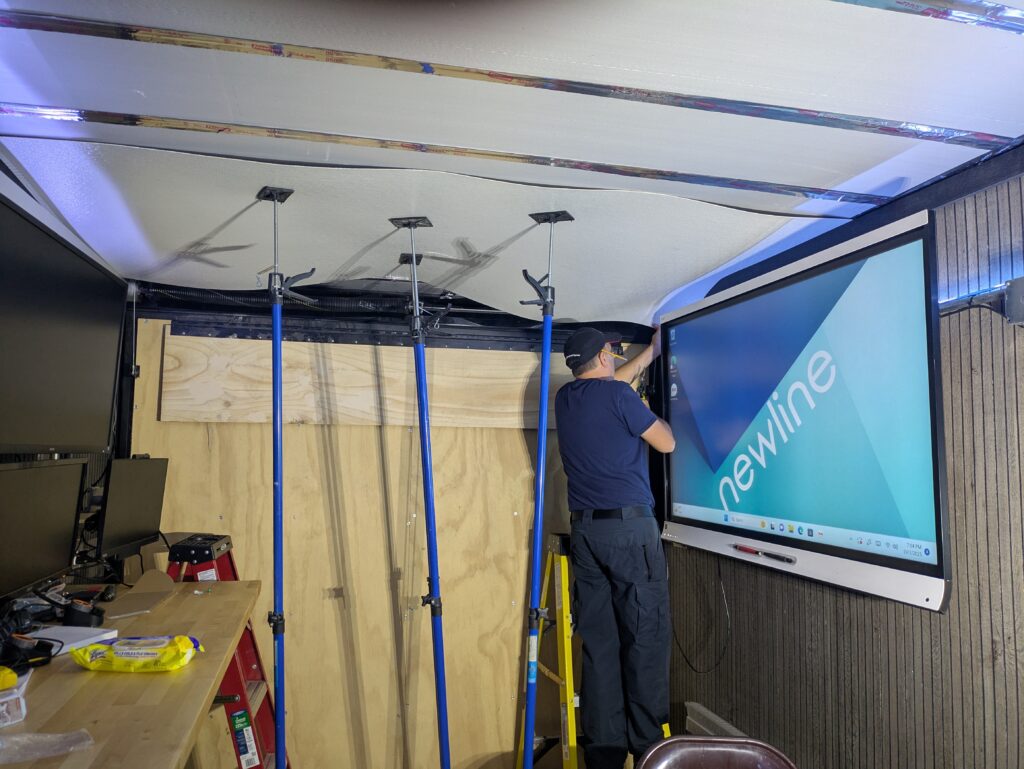
Finally, we installed the FRP sheeting on the ceiling. The same cutoff tool we used to cut everything else works great for cutting FRP too.
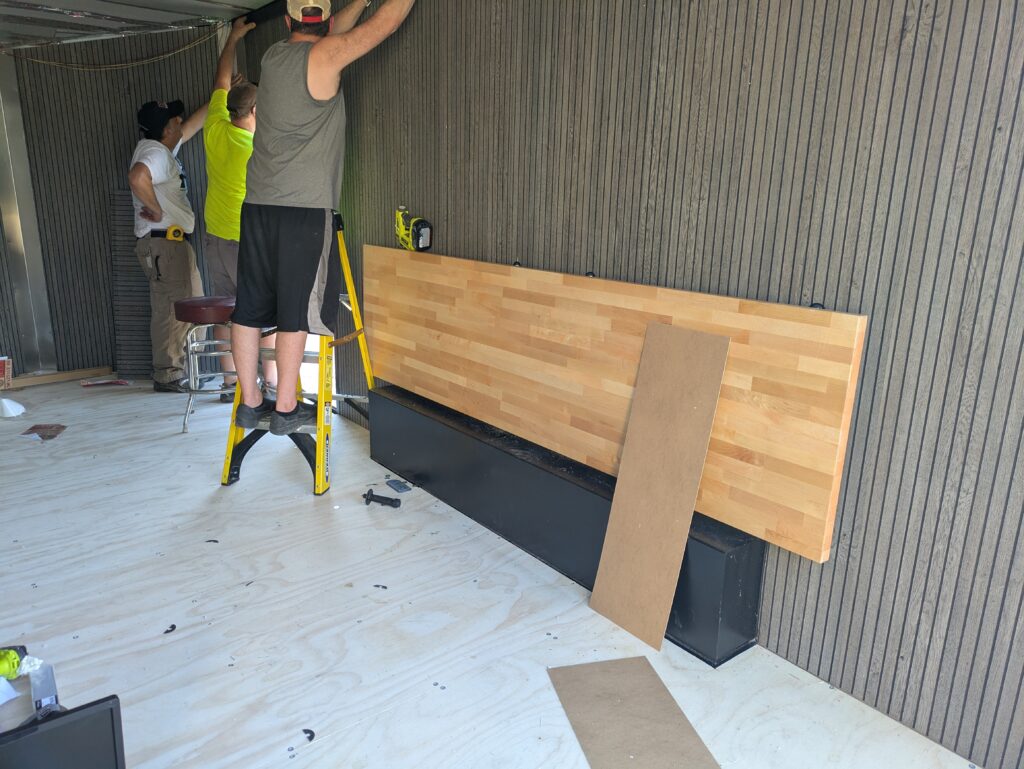
As we quickly figured out, you need about 3 people to install FRP above your head- two people to stand on ladders and install it, and one person to run around and get the other two people anything they need. Its also beneficial if you pick up a few telescopic support poles. We used cargo support bars from Harbor Freight. This picture was taken during one of the very few times that we didn’t need all 3 people doing something.
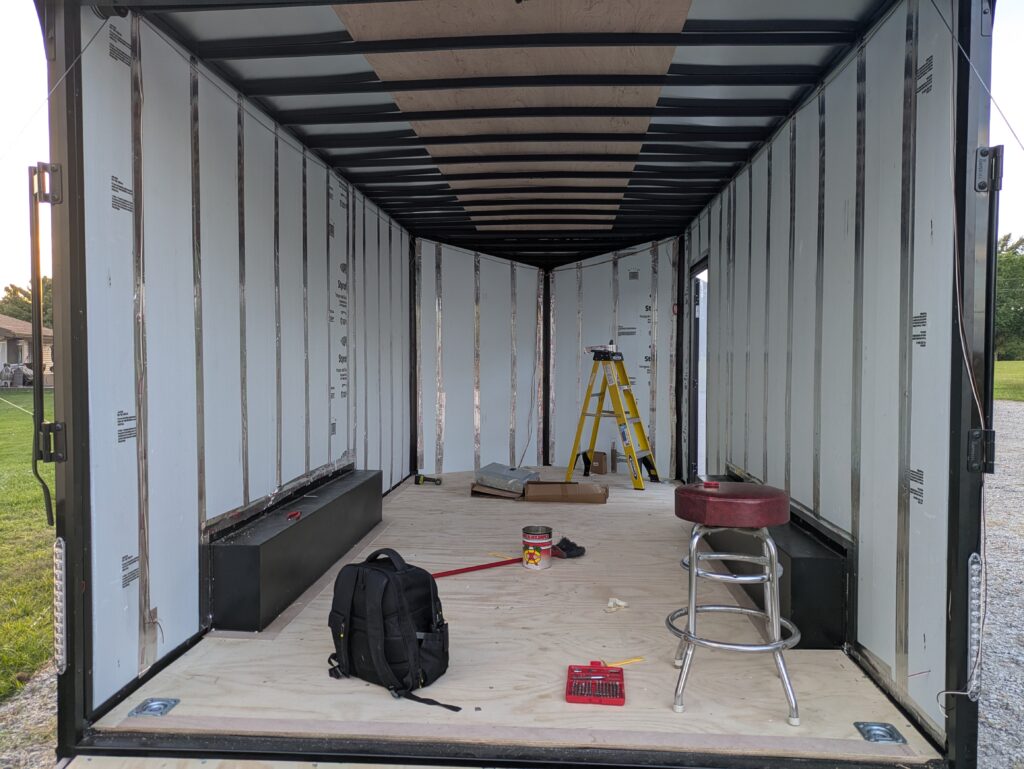
The next thing we did is paint the floor. This was done to seal the wood and prevent any moisture build up under the flooring that was placed on top.
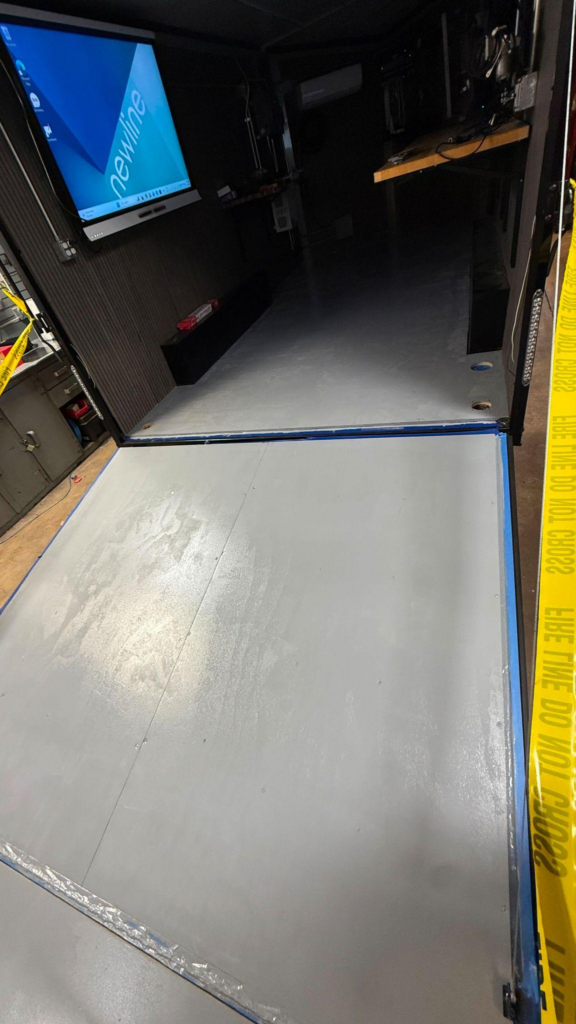
Since we had already pre-cut the floor, we laid it in and installed additional PVC board as trim. This held the floor down and covered any gaps. We ended up going with this flooring product from RecPro.
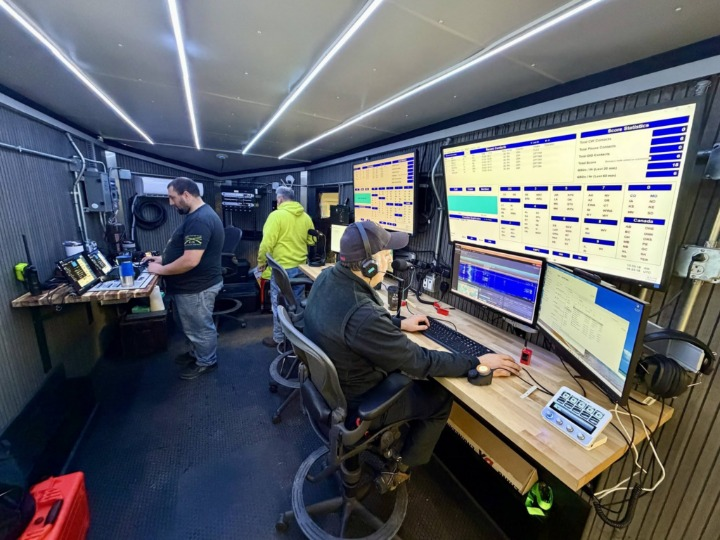
And that’s basically it! We’ve used the trailer twice now- once for Indiana’s 10-4 day (when it was partially finished), and once for Winter Field Day.
FAQs
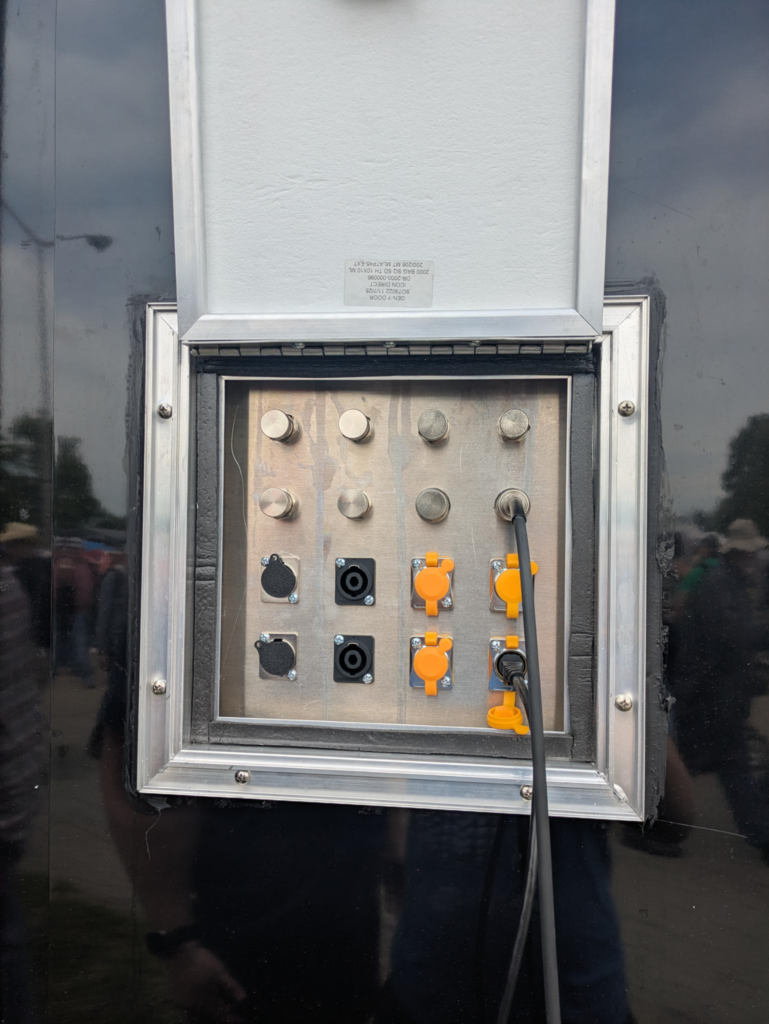
Where did you get your patch panel made?
We worked with the wonderful people at Vision on Division to fabricate the patch panel itself and we purchased this RV Baggage Door from RecPro.
Do you experience any noise/RFI with the Predator 5kw generator?
We’ve noticed RFI… to an extent. As long as your coax isn’t running right over your extension cord, you should be fine. Its noticeable, but its not crazy. We’ve also figured out that floating the ground helps reduce RFI, although that’s not always possible. If you run your radio through a battery that’s being charged by the generator, you’ll have the best shot at eliminating the most RFI.
Does the mini split produce any RFI?
From the little testing we’ve done so far, it doesn’t seem like much, if any. We’ll get a better idea on how much noise it produces once our Flex Radio Aurora is on the air.
How do you stow the desks for transport?
We got these folding shelf brackets from Amazon. They’re rated for 550lbs per set. The large desk is held up with two sets, and the small desk is held up with one set. They’re on the expensive side for what they are, but they’re very beefy and shouldn’t break any time soon.
Is the floor insulated?
Not yet. We’re exploring getting it spray foamed in the near future.
What kind of inverter and batteries do you have?
We have a Xantrex Freedom SW3012 inverter/charger that charges a bank of 4x 12v 100ah LiFePO4 X2Power batteries.
Do you run the mini split while the trailer is in motion?
Currently, no. However, it’s something we’ve considered doing.
Where’s the pneumatic mast?
Its installed, just need to take pictures!
What receptacle did you use for your power input?
We decided to use a NEMA L14-30, with both hots wired together, since the generator only outputs single phase 120V. We then purchased this adapter to go from the TT-30 on the generator to an L14-30. We chose to use L14-30s instead of TT-30s because L14-30 is locking and is widely available, so if we ever had to rig something up or purchase a new extension cord on the fly, we could.
What VHF/UHF radios do you have?
We have a pair of Motorola XPR5550s that were donated by a club member.
Do you have VFO knobs for the Flex Radio Aurora?
Yes. Since all of our Flex radios are tied into the Remote Ham Radio network, we decided to build 3 CTR2-Dials (now the CTR2-Uno). This ended up being cheaper than purchasing Flex’s OEM VFO knob.
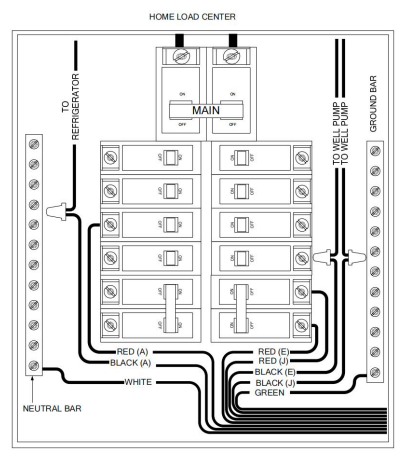
How does the transfer switch work?
Each circuit in the transfer switch has 2 wires, a red and a black. The red gets wired to the corresponding breaker in the load center, and the black gets wired to the hot wire feeding the device. The transfer switch then accepts incoming power from a generator. When the switch in the transfer panel is set to “GEN”, the breaker in the transfer panel is used. When the switch is set to “LINE”, the breakers in the load center are used. Below is a diagram of our setup with a picture of the transfer panel, and a picture of the transfer panel’s wiring diagram.

If you have any questions that weren’t covered above, want to tell us how you laid your trailer out, or just want to give us your thoughts, feel free to email us at trailer@k9pc.club. We’re happy to give you our input and hear your ideas. This is a living project that will never truly be done.